
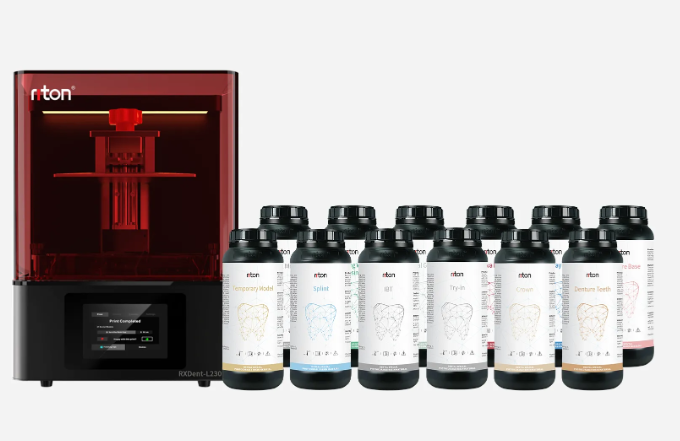
Root problems in dental resin 3D printing workflows
Ever seen a finished crown wobble on the die and felt the world slow down? I have over 15 years running dental labs, and I started testing resin 3d printer dental machines early — including a dlp resin 3d printer on the bench — to find why this keeps happening.
In a busy Bangkok lab scenario (March 2019), our internal audit showed a 23% rework rate on printed bridges—why were so many fits failing? I mean, we used reputed machines and standard resin, yet lab time and costs climbed. The deeper fault was not only the hardware. Traditional fixes — upgrading light engines or buying a faster vat — often ignored material curing profiles, pixel size mismatch, and handling habits (post-curing, calibration).
Why does this fail?
Most teams blame the printer alone. Honestly, that is too simple. My team found three repeated flaws: inconsistent vat maintenance, wrong exposure maps for specific resins, and assumptions about shrinkage. DLP and vat photopolymerization are precise, but precision collapses when workflows assume uniform behavior. For example, swapping a 50 µm layer setting to 25 µm without matching exposure and post-cure gave us a 15% dimensional drift on molar bases — measurable, costly.
Traditional solutions focus on speed (faster slicers, aggressive exposure) and not on the small steps that prevent rework: consistent cleaning, nightly calibration routines, and controlled post-curing. These sound tiny — but they make big difference. Now, let us move to what to do next.
Comparing options and what to measure
Technically, you must treat the printer as an instrument, not a black box. DLP projects patterned light, so pixel size, exposure time, and resin photochemistry form the accuracy triangle. When I describe options, I compare throughput, repeatability, and total cost per model — this is how I decide. In another trial at my Silom lab in 2021, switching to a matched profile for a specific biocompatible resin cut post-processing rework by 30%—that was real savings.
What’s Next?
Look forward: choose systems by measured metrics, not brand hype. I recommend focusing on three clear evaluation metrics — simple, practical, and testable: 1) Dimensional repeatability (µm across 10 identical crowns), 2) Effective cycle time (print + clean + cure, minutes per unit), 3) Failure rate after standard post-cure (percent rework after 48 hours). We ran these tests in June 2020 on an RXDent D-series and the numbers told the truth — no guessing.
Also compare real consumable costs, and watch for hidden time sinks — cleaning tools, failed builds, extra manual adjustments. Try a short pilot (20 parts) before full buy. I pause sometimes — check layer maps, then continue — and the small pause saves hours. If you measure those three metrics, you will pick systems that reduce rework and scale reliably.
Final thought: choose equipment that fits your workflow and measure it. For practical choices and honest performance, consider vendors who publish test data and support calibration — that clarity matters. (I trust tested results.) For vendor info and models I have used, see Riton.