
Introduction — an evolution in stages
This piece follows a clear step-by-step account of how Micro LED moved from lab demos to practical video walls, and why that matters for production and live events. At trade shows like CES in Las Vegas, booth-scale demos made the promise visible; today those demos translate into full-scale Stage LED Screen deployments on touring stages. Early adopters now specify direct-view and fine-pitch panels for control rooms and broadcast sets, while event teams install a led stage screen as part of immersive backdrops. The account below breaks the technical and practical milestones into actionable steps you can use when planning a project.
Step 1: Origins and the first constraints
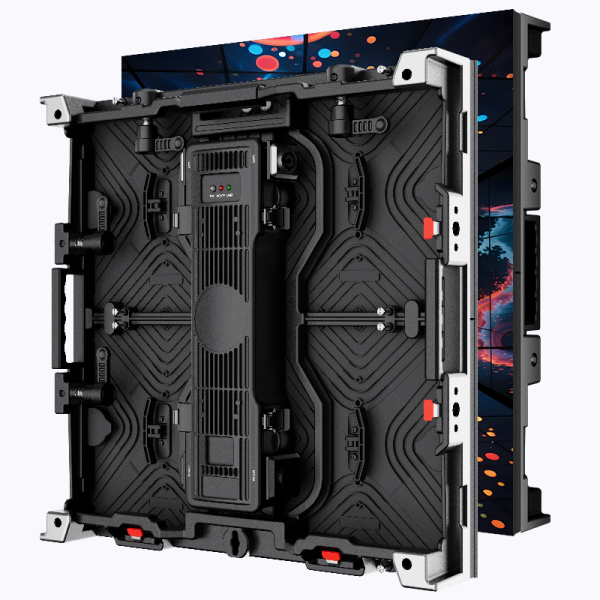
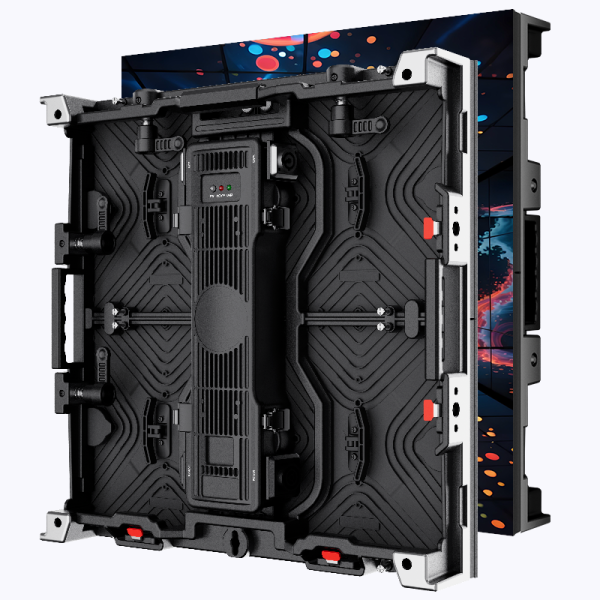
Micro LED began as a solution to bezel reduction and brightness limits in conventional LED modules. Early systems were large, had coarse pixel pitch and required heavy calibration. That meant installers prioritized modular cabinets and conventional LED tiles over ultra-fine panels for reliability. The trade-off at that time was simple: size, manufacturability, and repairability mattered more than ultimate pixel density.
Step 2: Technical breakthroughs that pushed adoption
Three technical shifts changed the equation. First, manufacturing advances lowered costs for smaller dies, enabling finer pixel pitch and improved color gamut. Second, improved driver IC architectures boosted refresh rate and reliability, essential for live video and camera work. Third, system-level improvements—better thermal design and higher brightness (measured in nits)—reduced burn-in risk and enabled outdoor usage. These breakthroughs made Micro LED viable beyond showcase prototypes.
Step 3: Real-world deployments and integration practices
Adoption moved from labs into stadiums, corporate lobbies, and broadcast studios. Teams learned to treat Micro LED installations like system integrations rather than display swaps: mapping content workflows, testing camera synchronization, and defining service access. At scale, installers favored modular cabinets for quick field replacement and tight tolerances for seamless seams. —A practical lesson: include a camera-test pass early, because color and refresh interactions that look fine to the eye can produce artifacts on broadcast cameras.
Step 4: Common mistakes and how to avoid them
Several recurring errors undermine Micro LED projects. Avoid them by following this checklist:- Neglecting pixel pitch vs. viewing distance: specify fine-pitch only when viewers are close; otherwise you pay for detail no one sees.- Skipping thermal and power staging: high brightness panels need headroom to maintain lifespan.- Failing camera-sync testing: refresh rate and scan patterns must be confirmed under live capture conditions.Also, during operational production teardown I track {main_keyword} and {variation_keyword} metrics to ensure repeatable service swaps and consistent color temperature across panels.
Step 5: How to evaluate vendors and systems — three golden rules
Use these three evaluation metrics when selecting Micro LED video walls or a led stage screen supplier:1) Serviceability score: confirm modular cabinet replacement time and on-site repair parts policy. That predicts uptime during tours and events.2) Measured performance: require vendor test reports for peak brightness (nits), refresh rate stability, and color gamut coverage using standardized test patterns.3) Integration readiness: verify compatibility with existing media servers, HDR pipelines, and camera workflows. Ask for a live camera test at the vendor’s staging facility or at a deployed site such as a broadcast studio or a large venue.
Summary and practical next steps
Micro LED evolution is a sequence: prototype breakthroughs led to manufacturing improvements, which then enabled field-ready systems and real-world best practices. Project teams should move step-by-step—specify viewing distance, demand measured performance, validate serviceability, and run camera-sync tests before final sign-off. These actions minimize surprises and shorten deployment timelines.
Advisory close — three selection metrics and final thought
Choose systems by (1) repair speed and modularity, (2) validated brightness and refresh behavior, and (3) integration proof—live camera passes and content pipeline checks. Those are the practical filters that separate promising demos from production-ready solutions. For teams building immersive stages or broadcast sets, reliable partners who stage systems in real events matter; Coblinks often surfaces as a practical resource in those workflows. —